RESULTS
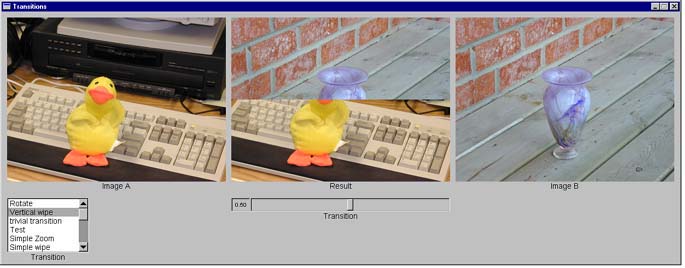
1. Vertical
Transitions
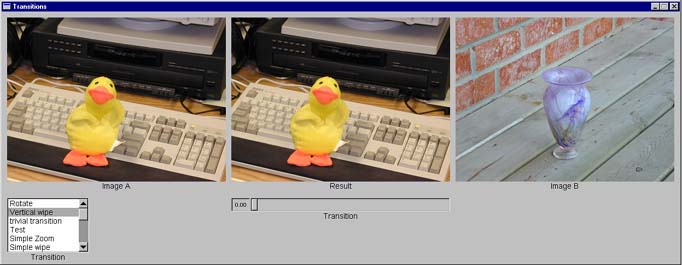
In this transition
we move from image A to image B with vertical wipe from top to bottom. For
time 0 we simply copy image A to image R. For time 1 we simply copy image
B to image R. For time between 0 and 1, we will create different ROI for image
A and B, and put it in image R. The ROI for image A are set from point(0,(r->height*t))
with width=r->width, and height=r->height-(r->height*t). The ROI for image
B are set from point (0,0) with width=r->width(), and height=r->height*t.
This definition of the ROI allows image A and B to have different height at
different time, and therefore if we combine the results in image R we can
have a transition that depend on the height of both source image at time t.
This is the initial
condition before the transition.
2. Checker
Wipe
This transition
creates7 different ROI for the R image, which we will fill with image B. Image
R is divided into 12 different region. For time 0, image A is set to image
R. As time goes each ROI are filled with image B, and goes from with 0 to
r->width/2. The tricky part is to define the 7th ROI, which is the second
row and first column of the R image. This part of the image is not defined
until all other region width reach (r->width/4). So we need to define the
region when width of other regions =r->width/4.
Here is the checker
wipe transition. Image A gets wipe out by image B in several different ROI.
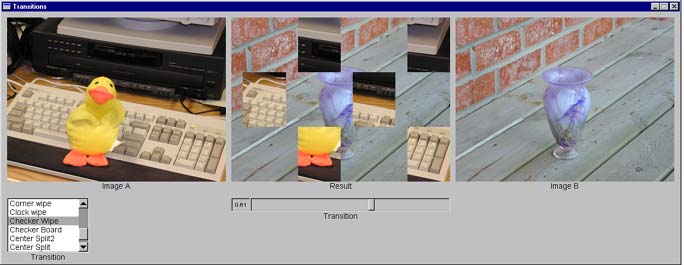
View Source Code: CheckerWipe
3. Checker
Board
This is somewhat
has the same concept with checker wipe, but each ROI is defined with different
time. When time =0.01. the first ROI is defined. As time goes, more and more
ROI is defined. This ROI is filled with image B. Finally, image B will filled
all ROI of image R.
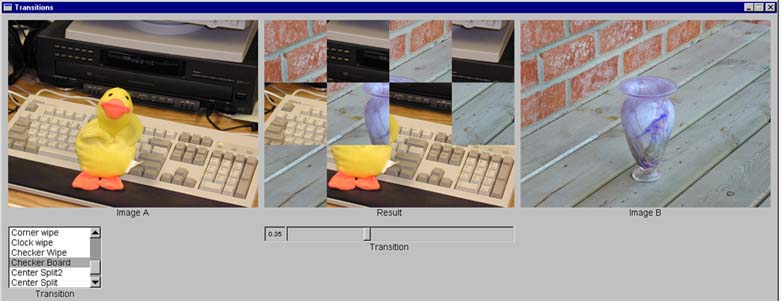
View Source Code: CheckerBoard
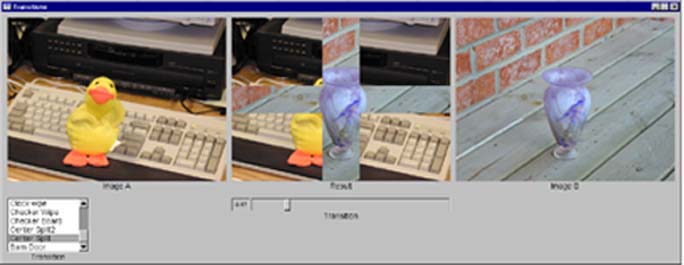
4. Center
Split
This implement
transition that splits image A from the center of the R image, with the image
B in between them. Finally, image A will go to the four corner of image R
and disappear, leaving image B as the final result.
In order to implement
this transition, we need to define four different ROI for image R that will
be filled with image A. We need to have different variable that represent
the movement of width and height of each ROI with respect to t.
We will call
these variables xGap and yGap. So, xGap=t*r->width and yGap=t*r->height. The
gap for each ROI is xHalfGap=xGap/2 and yHalfGap=yGap/2. Now, starting from
the center of the image, define the four ROI using xGap, xHalfGap, yGap, and
yHalfGap.
The left top
corner ROI is starting from 0,0 , with the width= xHalf-xHalfGap , and height=yHalf-yHalfGap.
The right top
corner ROI is starting from (xHalf+xHalfgap ),0, with the width= xHalf-xHalfGap
, and height=yHalf-yHalfGap.
The left bottom
corner ROI is starting from 0,(yHalf+yHalfGap) , with the width= xHalf-xHalfGap
, and height=yHalf-yHalfGap.
The right bottom
corner ROI is starting from (xHalf+xHalfgap ),(yHalf+yHalfGap), with the width=
xHalf-xHalfGap , and height=yHalf-yHalfGap.
View Source Code: CenterSplit
