|
 |
 |
 |
 |
 |
 |
 |
 |
 |
Project 2 .: An Animated Production :.
By: Chris Mizerak, Mark Kim, and John O'Laughlin
Description:
Our mission for Project 2 was to create an 1-3 minute animation using Maya (a 3D modeling/animation suite). With the main emphasis on a technial piece to help us create the animation. This could be in the form of a plug-in or Maya specific scripting.
Brain Storming & Storyboard:
The group decided to do a parody on the familiar TV show COPS. Why did this appeal to us? Well, it has poor dialogue, bad camera work, and not a whole lot of plot. We figured this would give us a good opportunity to focus on the technical peices and make a funny little movie. Below are the preliminary story boards we drew up:
 |
 |
| 1. Intro: show scenes from previous episodes while the COPS theme song plays in the background. |
2. More scenes from previous shows... |
 |
 |
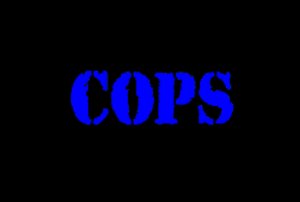
| 3. Fade to the Blue & Black COPS logo screen, then begin the "ride-along" monologue |
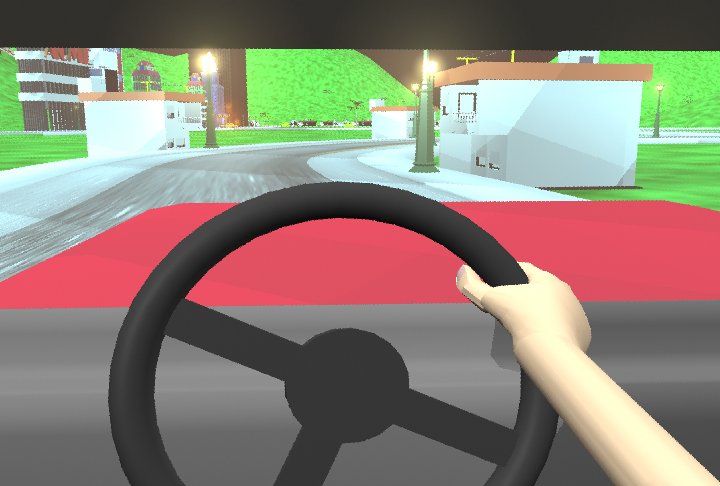
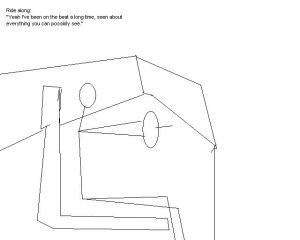
4. Cut to the passenger seat cam, while driver talks about his life as a cop |
 |
 |
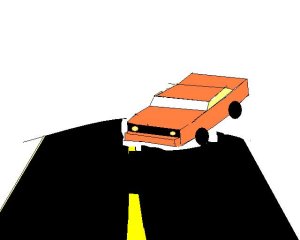
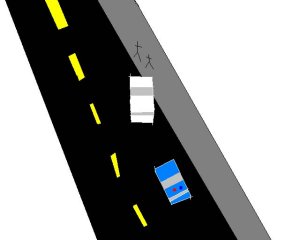
| 5. During his monologue driver gets a radio about a routine traffic violation he must go check out. It ends up to be a big chase through the city though(of course) |
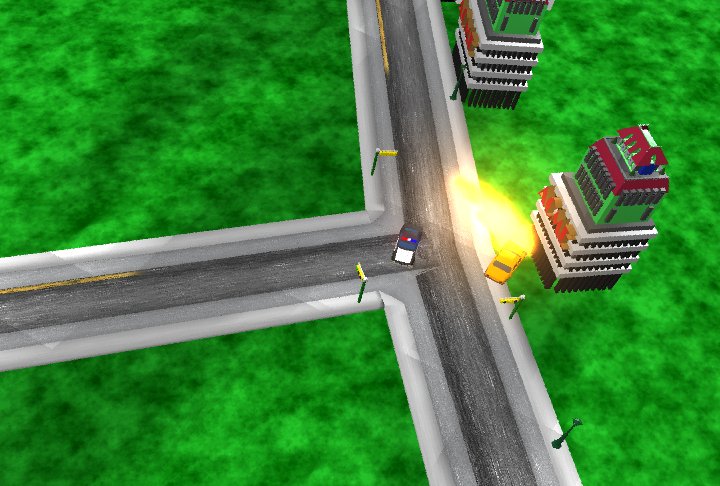
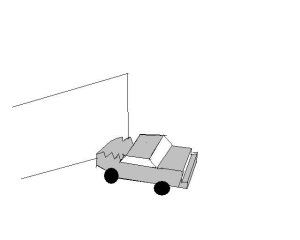
6. Perpetrator ends up crashing into a building |
 |
|
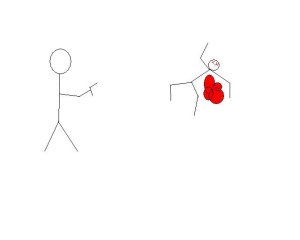
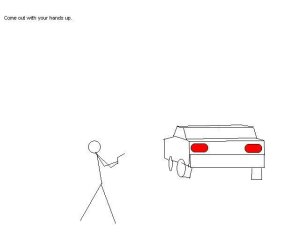
| 7. Cop pulls his gun and calls for the bad guy to come out |
|
Technical Aspects:
From out storyboard we extracted ideas about what to do for each of our technical pieces. Mark decided to do free-form deformation for the car crash scene. John wanted to do lip sinking for the ride along scene from a recorded waveform. I chose to create a City Generator for my technical piece.
City Generator:
Click Here To Learn More About My City Generator
Crash Deformation:
Click Here To Learn More About The Crash Deformation
Mouth Motion:
Click Here To Learn More About The Mouth Motion
Final Production:
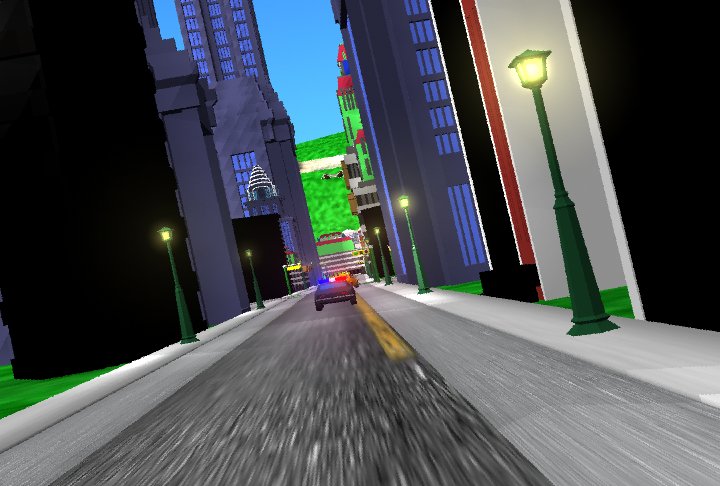
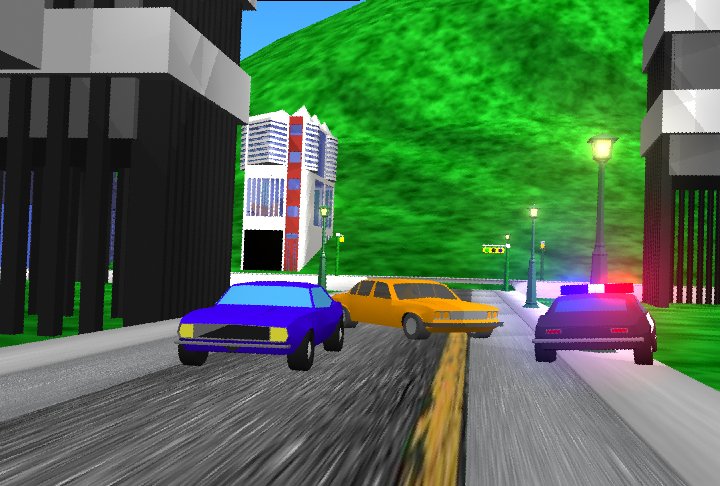
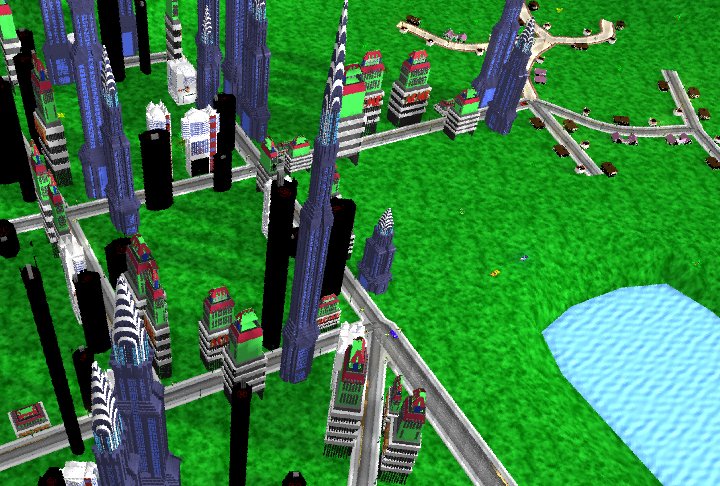
The City Generator turned out to be a stand-along OpenGL Application that exported MEL (Maya Script) files that could be imported into Maya. Once imported, we had our set (roads, terrain, buildings, traffic lights, cars driving around, street lights, sidewalks, etc...) The next step was to keyframe a car chase between the cop and a perpetrator. Once this part was done, we ran Mark's plugin to generate a realistic crash scene. Finally, we recored a ride along monolgue and John used his lip synch program to generate a person talking to the dialogue. Once we had everything we wanted, it was time to render. This up hill battle took weeks of computing to complete. Each frame took over 10 minutes to render at lowest quality and no raytracing. When you do the math (10 minute per frame, 30 frames per second, 7000 some frames) It was a struggle to get it done in time.
Some Rendered Frames: (click to enlarge)
Post Production:
2 days before our animation was due (even after a few weeks of extension time) we had all of our frames rendered. They take up close to 5 gigs of space. We imported everything into Adobe Premiere to add camera transitions and sound effects. I made the UW graphics lab my new home from about noon Sunday until 7:00am Monday morning. The final AVI was compressed to about 111 Mb.
Watch The Movie!
Here is a DivX compressed version of our movie at a lower quality
After Thoughts:
This project really turned out to be a good lesson! We ran into many problems during the process. There are a lot of little mistakes in our final production, that could have been corrected. However, time constraints did not allow us to re-render anything is still get it done in time.
Some of the major things we took away from this project were:
-Do not use maya scene files over 500 Mb in size, your computer will be mad at your forever
-Do not render scenes that you only animated in wire-frame mode
-Do not bank on letting something render overnight, EVER
-Maya 3 does not like things you made in Maya 4
-Save every 10 minutes when using Maya!
-Understand AFS tokens and how to change expiration time
|
|
|
 |
 |
|
|
|
|
|
|
|
|
|